
Embroidery has long been a cherished art form that allows us to express creativity and beauty through thread and fabric. However, one of the challenges that embroiderers often encounter is dealing with "jump" and "trim" in their embroidery designs. These jumps are the threads that connect different parts of the design, and trims are the excess threads that need to be removed after a section is stitched. In this article, we will delve into the intricacies of removing jump and trim from your embroidery designs, providing you with two amazing methods to achieve flawless results.
1. Introduction
Embroidery digitizing services enthusiasts often find themselves confronted with the issue of jump stitches and trim threads marring the final look of their designs. In this article, we will guide you through two effective methods to eliminate these obstacles and create embroidery pieces that are clean, precise, and visually stunning.
2. Understanding Jump and Trim in Embroidery
Jump stitches occur when the embroidery machine needs to move from one area of the design to another without stitching. These connecting threads can be unsightly if not dealt with properly. Trim threads, on the other hand, are the excess threads that are left behind after a section of stitching is completed.
3. The Importance of Removing Jump and Trim
Removing jump and trim stitches is crucial to achieving a polished and professional Embroidery digitizing service outcome. Neglecting these aspects can result in a messy appearance and affect the overall quality of your work.
4. Method 1: Manual Trimming and Underlay Adjustment
Adjusting Underlay Stitching
Proper underlay stitching can significantly reduce the occurrence of jump stitches. Underlay provides a foundation for the top stitches, minimizing the gaps between sections of stitching. By adjusting the underlay settings on your embroidery machine, you can prevent excessive jumps.
Trimming Jump Stitches Carefully
Careful trimming of jump stitches is essential. Use small, sharp scissors to snip jump stitches close to the fabric. Be cautious not to cut the fabric or other stitches. This method requires patience and precision.
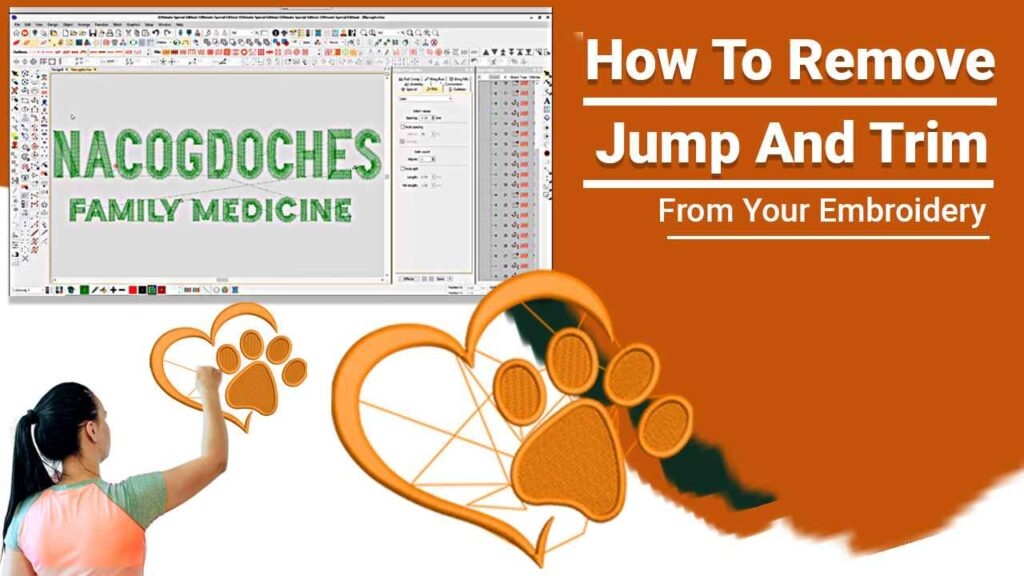
5. Method 2: Utilizing Embroidery Digitizing Software
Choosing the Right Software
Invest in reliable Embroidery digitizing software that offers advanced features, including jump and trim removal. Research and select software that suits your needs and experience level.
Importing and Modifying Designs
Import your design into the software and make any necessary modifications. Adjusting stitch settings and density can influence the occurrence of jumps and trims.
Automatic Jump and Trim Removal Feature
Many digitizing embroidery software options come with automated features to remove jump stitches and trim excess threads. Explore the software's tools and settings to enable this function.
6. Expert Tips for Embroidery Success
Using High-Quality Thread
Using quality thread reduces the likelihood of thread breaks and excessive jumps. High-quality thread is more durable and less prone to creating tangled stitches.
Regular Maintenance of Embroidery Machine
Keep your embroidery machine well-maintained. Clean it regularly, change needles, and ensure proper tension settings to prevent thread-related issues.
7. Common Mistakes to Avoid
Neglecting Proper Underlay
Inadequate underlay stitching can lead to increased jump stitches. Pay attention to underlay settings to provide a stable foundation for your design.
Incorrect Thread Tension
Incorrect tension can result in thread breaks and uneven stitches, exacerbating jump and trim issues. Adjust the tension according to the thread and fabric being used.
Skipping Trims
Skipping trim steps might save time initially but can create a messy appearance in the final design. Avoid this shortcut for a professional finish.
8. Conclusion
Achieving impeccable embroidery requires attention to detail and precision. By following the methods outlined in this article, you can successfully eliminate jump stitches and trim threads from your embroidery designs, resulting in stunning creations that showcase your skill and dedication. Embroidery has come a long way from its traditional roots, evolving into a captivating blend of art and technology. With the advent of custom embroidery digitizing, the ability to convert images into intricate embroidery designs has opened up a world of creative possibilities. Know process of convert image to embroidery file, delve into the significance of custom embroidery digitizing, and shed light on how digitizing for embroidery can bring your vision to life.
FAQs
-
What causes jump stitches in embroidery? Jump stitches occur when the embroidery machine moves between design elements without stitching, leaving connecting threads.
-
Can I manually remove jump stitches? Yes, you can manually remove jump stitches using small scissors, but it requires careful handling.
-
Why is underlay stitching important? Underlay stitching provides a stable base for top stitches, minimizing gaps and reducing jump stitch occurrences.
-
Is digitizing software essential for embroidery? digitizing services software can streamline the design process and offer features like automatic jump and trim removal.
-
How can I prevent thread breaks during embroidery? Using high-quality thread and maintaining proper tension in your embroidery machine can help prevent thread breaks.
-
Is there any Best Embroidery digitizing services Provider?
Zdigitizing offers high-quality digitizing embroidery service and Vector Art Services