
QuickBooks is the accounting and bookkeeping software with the quickest rate of growth, which benefits a variety of organizations by boosting productivity. The Multi-User Mode, which enables many users to access Quickbooks and the company file within the same network, is a key feature of this software. However, this facility comes with a number of bugs that can infect your system and cause issues. Large-scale issues like Quickbooks error H101, H202, H303, or H505 can be caused by even a slight improper configuration of the settings. In this blog, we'll dwell upon the QuickBooks Error H101, that happens when moving from single-user mode to multi-user mode. Let's now explore the multiple techniques to fixing the QuickBooks H101 error.
A Brief Review of QuickBooks Error H101
A technical issue causes the QuickBooks Desktop error H101 to appear when a user tries to view the company file on some other device. If the hosting configuration or QuickBooks configuration are set up incorrectly, the error may occur. In a multi-user scenario, this error code stops the users from gaining access to the company file, so it must be fixed right away.
Causes of QuickBooks Error H101
The following factors may contribute to the QuickBooks Desktop H101 error:
-
Your device's IP address cannot be retrieved by QuickBooks or it is an incorrect IP address.
-
Incorrect host configuration in QuickBooks might also result in the error code H101.
-
It is not possible for QB to operate properly because of how the Windows Firewall is configured.
-
The company data file cannot be accessed because of its location or because the route is incorrect.
-
A bug or destruction to the Network Data file prevents the company file from being opened in a different network.
-
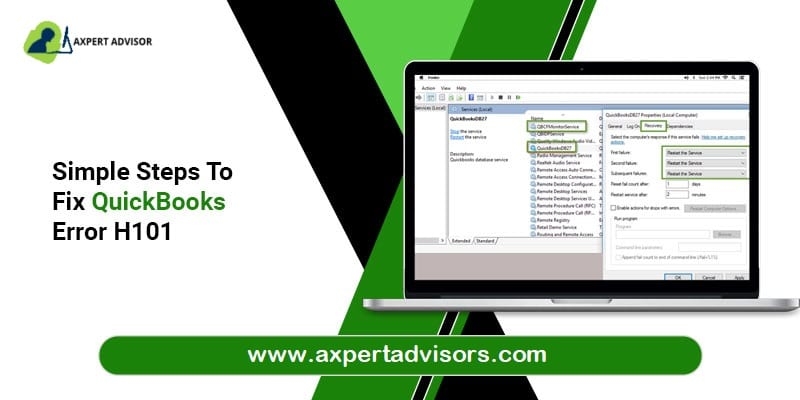
The system is not executing any QuickBooks Services, such as QBDBMgrN and QBCFMonitorService.
Methods To Fix QuickBooks Desktop Error H101
We will now examine the methods that can be used to successfully fix the QuickBooks Desktop error H101.
Method 1: Launch the QuickBooks Database Server Management to Start the Multi-User Mode
In a multi-hosting setup, the QB Server Manager encourages the use of company files on various devices. Follow the procedures below to enable the database server:
-
Visit the Intuit website to get the QuickBooks Tool Hub, then save the file to your desktop in a suitable location.
-
After completing the installation procedure with a double-click, click the icon to launch the Tool Hub on the desktop.
-
In order to access it, press the Network Issues tab and then choose QuickBooks Database Server Management.
-
Choose the Start Scan option after locating your company file to begin the scan.
-
If the file is not visible, click Start Scan after searching for your QB company file.
-
Give the Server Manager permission to identify the problems and carry out repairs to resolve them.
-
Reopen QuickBooks Desktop on the computer by pressing the Close button. To enable multi-user hosting, select the File menu, then the Switch to Multi-User Mode option.
Method 2: Create a Different Company File Location on the Desktop to Save the File
When you move a company file, QB automatically adjusts the route it uses to access it, which aids in resolving issues with incorrect or corrupted file paths.
-
If QuickBooks is already open, close all of its windows and choose Create Folder from the context menu when you right-click on the desktop screen.
-
Give the folder the name "Test" and then press on the Windows symbol to open the search panel and type "Windows Explorer" into it.
-
Choose the Windows Explorer tab from the list of options, then navigate to the folder containing the QB files in the window that appears.
-
Tap the Windows symbol once more, and then type "Windows Explorer" into the search box.
-
Since it's a company file, look for the .QBW extension file then right-click on it to choose Copy.
-
To paste the copied company file, open the Test folder, right-click, and then choose Paste.
-
Last but not least, launch QuickBooks and see if the QuickBooks H101 error has been fixed.
-
Select Copy with a right-click on it.
-
To search for the company file from the new location, tap the File menu and choose Open or Restore Company.
-
To access the file from the new location, select it and click Open after pasting it in the Test folder.
Concluding!
The causes of QuickBooks Error H101 are numerous, and each cause has an appropriate resolution that can totally fix the issue. You will be guided accurately in the proper direction if you follow the instructions above. You may always choose our support service by getting in touch with one of our trained specialists at +1-800-615-2347 if you get stuck on any site of the blog or need more assistance.
Other helpful articles:
How to resolve the QuickBooks Payroll error PS077?