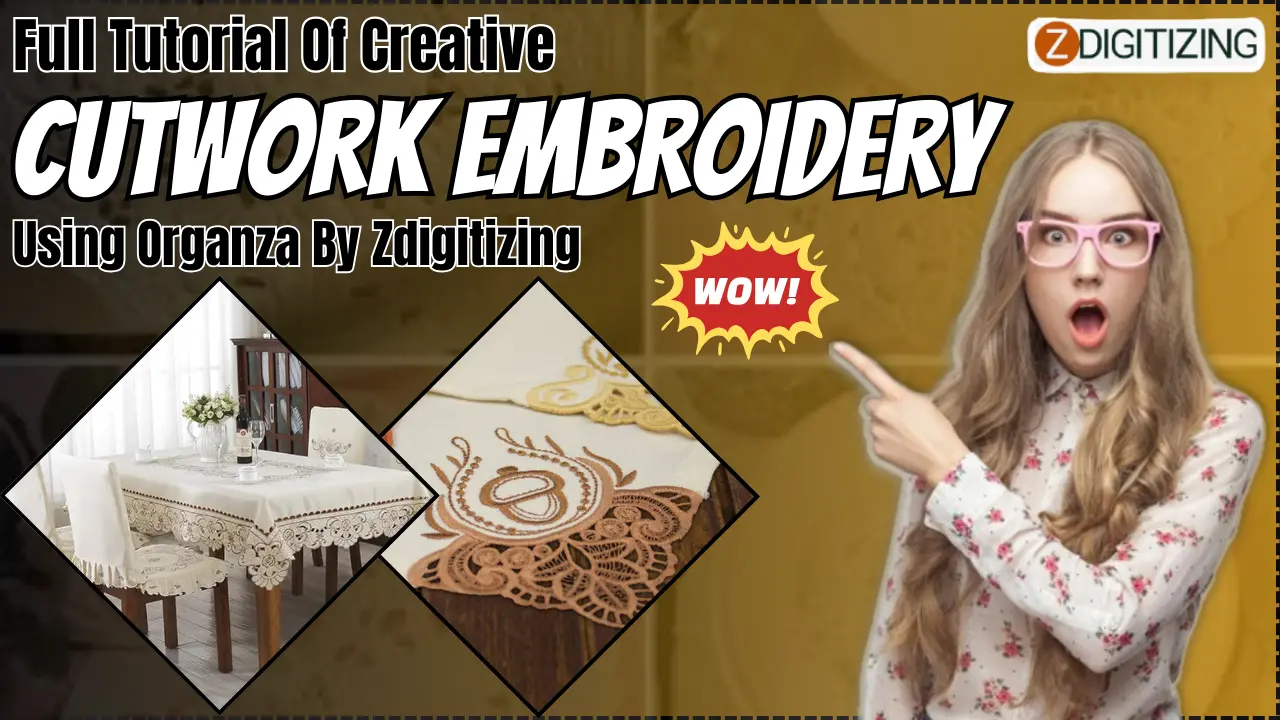
Embroidery enthusiasts are constantly seeking new techniques to add depth, texture, and creativity to their projects. Cutwork embroidery using organza is a captivating technique that adds an ethereal and delicate touch to any design. In this tutorial, we'll explore the step-by-step process of creating stunning cutwork embroidery using organza fabric, with the assistance of embroidery digitizing services to convert designs into embroidery files.
Materials Needed:
- Organza fabric
- Embroidery hoop
- Embroidery thread
- Embroidery machine
- Scissors
- Water-soluble stabilizer
- Iron
Step 1: Design Selection and Digitization
Begin by selecting a design suitable for cutwork embroidery. Consider designs with intricate patterns or motifs that will showcase the transparency of organza fabric. Once you've chosen a design, enlist the help of embroidery digitizing service to convert the design into an embroidery file. Specify any adjustments needed to optimize the design for cutwork embroidery, such as reducing stitch density or simplifying details.
Step 2: Hooping the Organza and Stabilizer
Place a piece of water-soluble stabilizer in the embroidery hoop, ensuring it is taut and smooth. Next, lay the organza fabric over the stabilizer, making sure it is flat and wrinkle-free. Gently tighten the hoop to secure the fabric and stabilizer in place, taking care not to stretch the organza.
Step 3: Stitching the Outline
Load the embroidery file onto your embroidery machine and position the needle over the center of the hoop. Begin stitching the outline of the design onto the organza fabric, using a lightweight and contrasting thread color. This outline will serve as a guide for cutting out the fabric to create the cutwork effect.
Step 4: Cutting the Organza
Carefully cut along the stitched outline of the design using sharp scissors, taking care not to cut into the stabilizer. Remove the excess organza fabric outside the stitched outline, leaving only the embroidered design intact.
Step 5: Removing the Stabilizer
Once the cutwork embroidery is complete, remove the hoop from the embroidery machine and carefully tear away the water-soluble stabilizer from the back of the design. If necessary, use a damp cloth or sponge to remove any remaining stabilizer residue from the fabric.
Step 6: Finishing Touches
After removing the stabilizer, gently press the cutwork embroidery with a warm iron to smooth out any wrinkles and enhance the transparency of the organza fabric. Trim any loose threads from the front and back of the design to achieve a clean and polished finish.
Step 7: Display and Enjoy
Your creative cutwork embroidery using organza is now ready to be displayed and admired! Consider framing the embroidery or incorporating it into a garment, accessory, or home decor item to showcase your skill and creativity.
Experiment with different designs, colors, and combinations of organza fabric to create unique and captivating cutwork embroidery pieces that are sure to impress.
By leveraging the expertise of embroidery digitizing services to convert to embroidery file, you can unlock endless creative possibilities and bring your cutwork embroidery visions to life with precision and ease.


